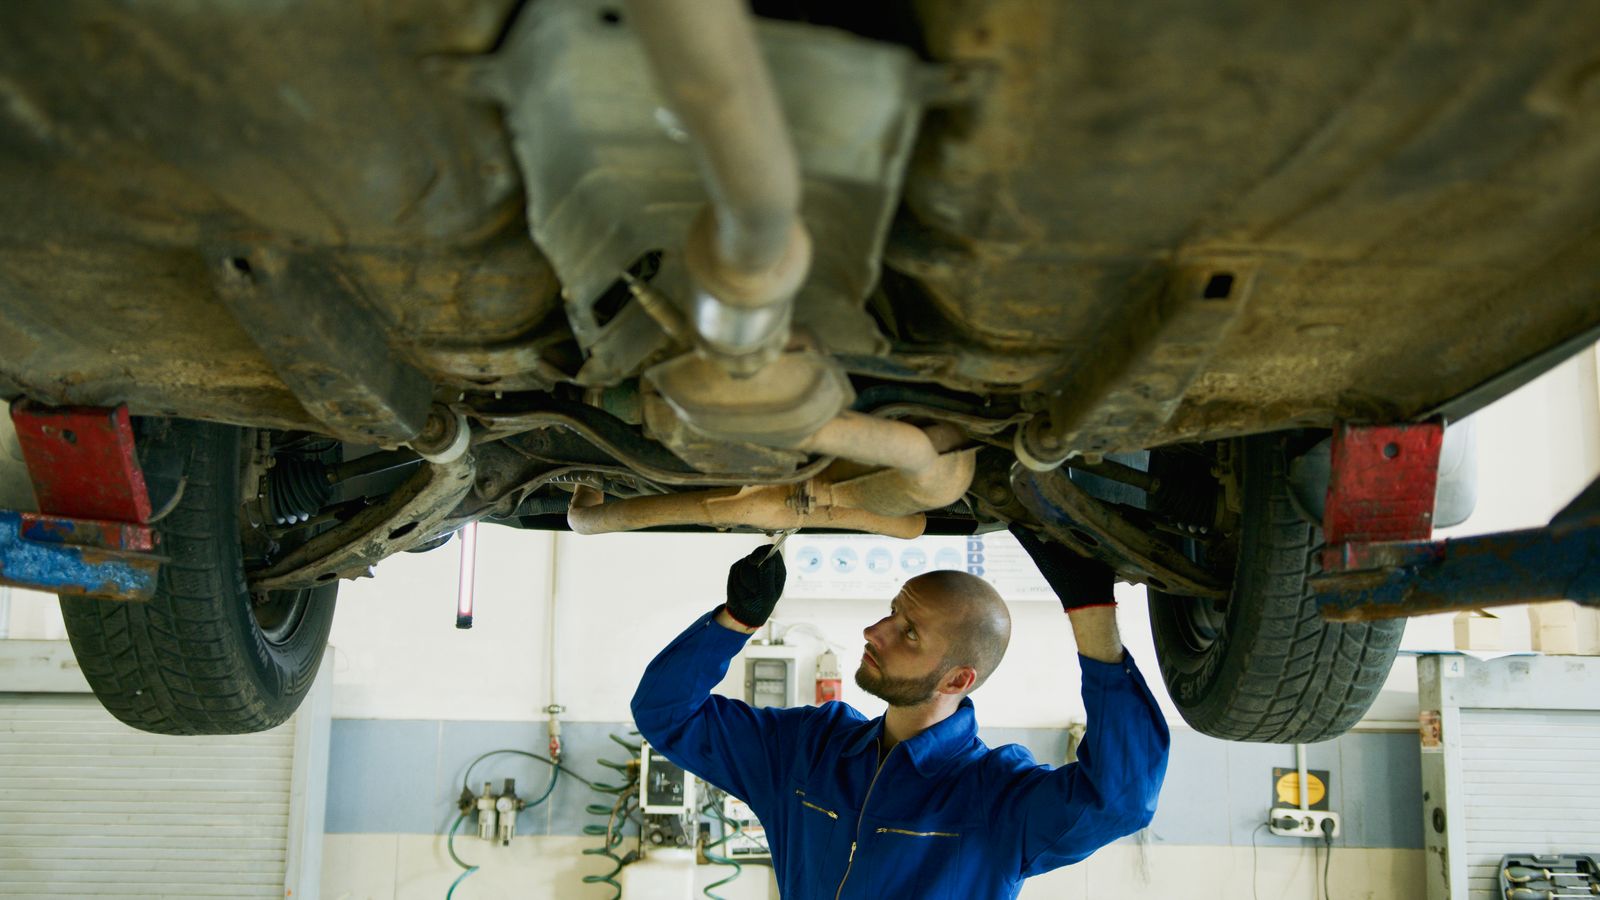
Car underseal is a protective coating applied to the underside of a vehicle to shield its chassis, sills, wheel arches and subframes from stone chips, road salt, water and mud. It is one of the most cost-effective forms of long-term rust prevention available to a UK driver, yet it is also one of the most misunderstood. Done properly, it can add years to a car’s structural life. Done badly, it can trap moisture against the metal and accelerate the very corrosion it was meant to stop. This guide explains when undersealing is genuinely worth the money, how it interacts with MOT corrosion checks, and how to choose between a DIY job and a professional treatment with confidence.
What is car underseal and why does it matter?
Underseal is a durable, flexible coating sprayed or brushed onto a car’s underside. Its job is to form a physical barrier between bare steel and everything the road throws at it: grit blasted up by tyres, standing water, mud, and the salt used on UK roads through the winter months.
The areas that benefit most are the ones you rarely see. Floor pans, sills, wheel arches, subframes, suspension mounting points, fuel and brake line routes and jacking points all sit close to the road surface and collect dirt and moisture. Left unprotected, they are the first places a car starts to rot.
It helps to separate two things that are often confused. Most modern cars leave the factory with a degree of protection already applied: electrophoretic primer on the bodyshell, seam sealant at panel joins, and in many cases a thin factory-applied stone chip coating on the most exposed sections. This is not the same as an aftermarket underseal. Factory protection is applied to clean, bare metal in controlled conditions and is designed to last the life of the car, but it can be damaged by impacts, and it does not cover every cavity. Aftermarket underseal is a supplementary layer, usually applied years into a car’s life, and its quality depends almost entirely on the preparation that precedes it.
How rust takes hold underneath a car
Corrosion is a simple chemical process: iron, oxygen and water. Road salt accelerates it dramatically by lowering the temperature at which water freezes and by acting as an electrolyte that speeds up the electrochemical reaction. Grit makes things worse again by chipping away at paint and factory coatings, exposing bare metal to the elements.
That combination explains why a car that lives near the coast or spends winters on salted A-roads and motorways will typically corrode faster than a garaged example used mainly in dry conditions. Once surface rust establishes itself, it flakes and lifts, holding moisture against the metal beneath and allowing the rot to spread inward.
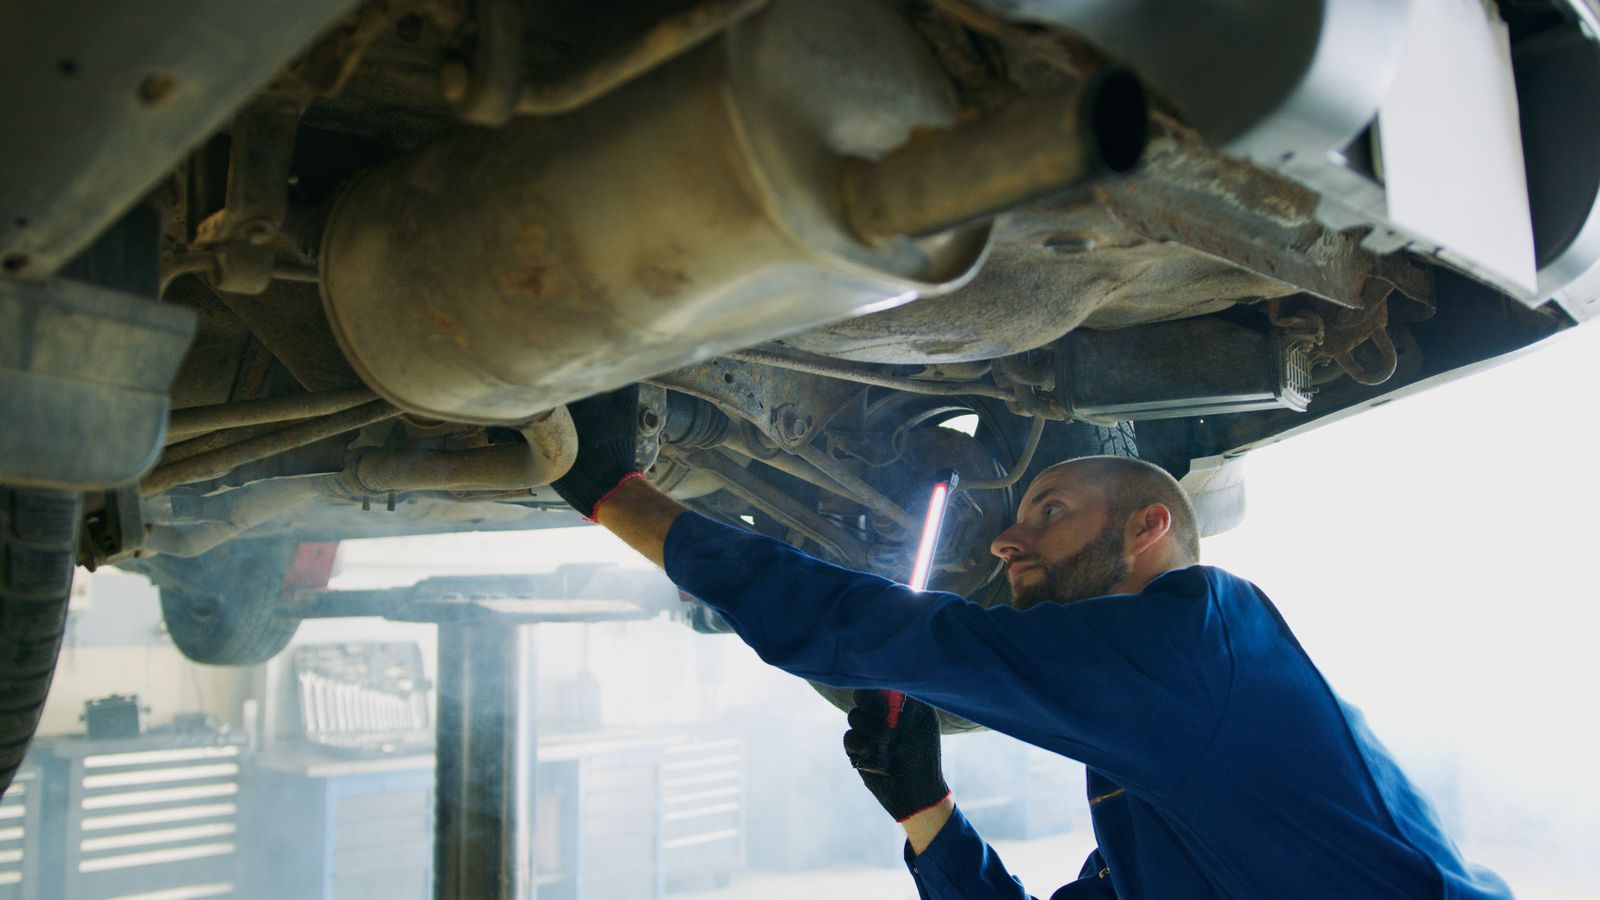
The pattern of failure is fairly predictable. Floor pans rot from the inside out where water sits under sound deadening. Sills and wheel arches go first because they collect mud. Suspension mounting points and jacking points fail because they are structural, load-bearing and frequently damaged by careless lifting. Rear subframes on older cars are a notorious weak spot.
MOT testers assess this as part of the structural inspection. Corrosion within 30cm of a suspension mounting point, a seat belt anchorage or a load-bearing member is treated far more seriously than cosmetic surface rust on a non-structural panel. A tester is not looking for a pretty underside; they are looking for corrosion that has weakened the structure to the point where it is unsafe. That distinction matters enormously when you are deciding whether to underseal, because coating over structural rot does not make a car pass. It simply hides a problem until it becomes a bigger and more expensive one.
Types of car underseal compared
There is no single best product. The right choice depends on whether you are protecting a sound shell or managing an older car with some existing surface rust, and whether you are working on a driveway or in a workshop.
| Type | Best for | Watch out for |
|---|---|---|
| Bitumen-based | Cheap, thick mechanical protection on sound metal | Can become brittle, crack and trap moisture underneath |
| Wax-based (for example Dinitrol, Bilt Hamber) | Cavity protection and older cars needing a flexible, self-healing finish | Costs more and generally needs reapplying sooner |
| Rubberised | A thick, flexible, sound-deadening layer that resists chipping | Moisture entering through a damaged edge can spread unseen |
| Epoxy | Hard, highly adhesive, chemically resistant protection over properly prepared bare metal | Unforgiving of poor preparation; usually a professional or serious DIY choice |
| Polyurethane | Premium, long-lasting protection for commercial and off-road use | Highest cost, and only as good as the surface beneath it |

Car underseal costs: what to expect
DIY materials are the cheaper route. As of February 2026, expect to pay somewhere in the region of £30 to £80 for a decent wax or bitumen product, plus consumables such as degreaser, wire brushes, masking tape and protective equipment (prices vary by brand and retailer). A spray gun or aerosol cans add to that. The real cost of DIY is time: a thorough job on a driveway can easily take a full weekend once preparation is included.
Professional undersealing typically runs from a few hundred pounds for a basic clean and coat on a small car to well over £1,000 for a comprehensive treatment on a larger vehicle, a 4×4 or a classic, where steam cleaning, rust removal, seam sealing and cavity wax injection are all included (quotes vary widely by workshop and region, and these figures are indicative as of February 2026). For context, UK garage labour rates commonly sit in the region of £60 to £120 per hour depending on location, which explains why a treatment involving several hours of stripping, cleaning and rust removal climbs quickly.
Several factors drive the price. Vehicle size and complexity matter, as does the amount of existing rust, because removing it is labour-intensive. Preparation is the single biggest variable: a specialist quoting for a full strip-back and treat will always cost more than one offering a quick spray-over, and the difference in longevity is substantial. Treat any figure here as indicative and get a written quote that specifies exactly what preparation and what products are included.
How to apply car underseal yourself
If you are working on a sound underside with only light surface rust, a DIY job is achievable. If you are dealing with flaking structural corrosion, stop and get it assessed first.
Start by raising the car safely on axle stands on firm, level ground. Never rely on a jack alone. Work in a well-ventilated space, wear eye protection, gloves and a respirator, and expect the job to be messy.
Next, clean the underside thoroughly. Pressure wash, then degrease, then allow it to dry completely. Any oil, wax or dirt left on the surface will stop the new coating bonding.
Remove loose rust with a wire brush, abrasive pad or grinder, and treat any remaining surface rust with a rust converter. This step is where most DIY jobs fail. Coating over flaking rust simply seals the corrosion in.
Mask off anything that should not be coated: the exhaust and its heat shields, brake lines and hoses, fuel lines, driveshafts, suspension bushes, and any moving joints. Underseal on a hot exhaust will burn and smell; underseal on a brake line can hide a future failure.
Apply in thin, even coats rather than one thick layer, building up coverage over two or three passes. A spray gun gives a neater finish on large flat areas, while a brush is better for seams and awkward corners. Allow proper curing time between coats and before the car is driven, checking the product instructions, as some coatings need several days to fully harden.
If you want to keep the rest of the car in good order while you are at it, our Car Wash Guide UK: Costs, Types, and How to Wash Your Car Properly covers the best ways to clean and protect the exterior without damaging finishes.

Professional undersealing and rustproofing
A specialist treatment is worth considering for older cars, classics, 4x4s, imported vehicles and anything you plan to keep for a decade or more. The equipment alone, particularly steam cleaning and cavity wax injection gear, is beyond most home setups.
A good treatment includes a full steam clean and degrease, removal of loose rust and failing coatings, seam sealing at panel joins, application of the main underseal layer, and cavity wax injected into box sections, sills and chassis rails where rust starts from the inside. That last step is the one most DIY jobs skip and the one that matters most on older shells.
Renewal intervals depend on the product and how the car is used. Wax coatings typically need inspection annually and topping up every few years. Heavy polyurethane or epoxy systems can last considerably longer.
Spotting a poor job is not difficult once you know what to look for. Warning signs include coating sprayed over dirt, grease or visible rust; overspray on exhausts, brakes and suspension components; no cavity protection; and a suspiciously fast turnaround on a car with obvious corrosion. A cheap underseal that seals in moisture is worse than no underseal at all.
Car underseal maintenance and inspection
Underseal is not a one-off job. Check the coating at least once a year, ideally in early autumn before the salt goes down, and again in spring. If you use the car off-road or on a lot of unmade surfaces, check more often, as gravel and standing water strip coatings quickly.
Touch up any chips, scuffs or lifted edges promptly. A small repair now prevents a large one later. Keep drain holes and sunroof drains clear so water cannot pool in sills and floor pans, and watch for any sign of moisture trapped beneath the coating, which usually shows as blistering, softness or a damp patch that never dries.
Is car underseal worth it?
For most drivers keeping a car long-term, yes. Undersealing is inexpensive relative to the cost of welding a sill or replacing a subframe, and a solid underside is one of the first things an informed buyer checks. On a classic, a 4×4 used on green lanes and beaches, or any car you intend to run past ten years, it is close to essential.
The economics are less compelling on a nearly new car that already has sound factory protection and will be replaced within a few years, or on a cheap car with advanced structural rot, where the money is better spent elsewhere.
The biggest myth is that underseal hides rust. Applied properly to clean, sound metal, it does the opposite: it slows corrosion, preserves structure and protects resale value. The decision is not really whether to underseal, but whether to do it properly. Get the preparation right, choose a product suited to your car and to the salted roads and coastal air it will actually face, and underseal will quietly do its job for years.
We covered small car buy second in more detail elsewhere.