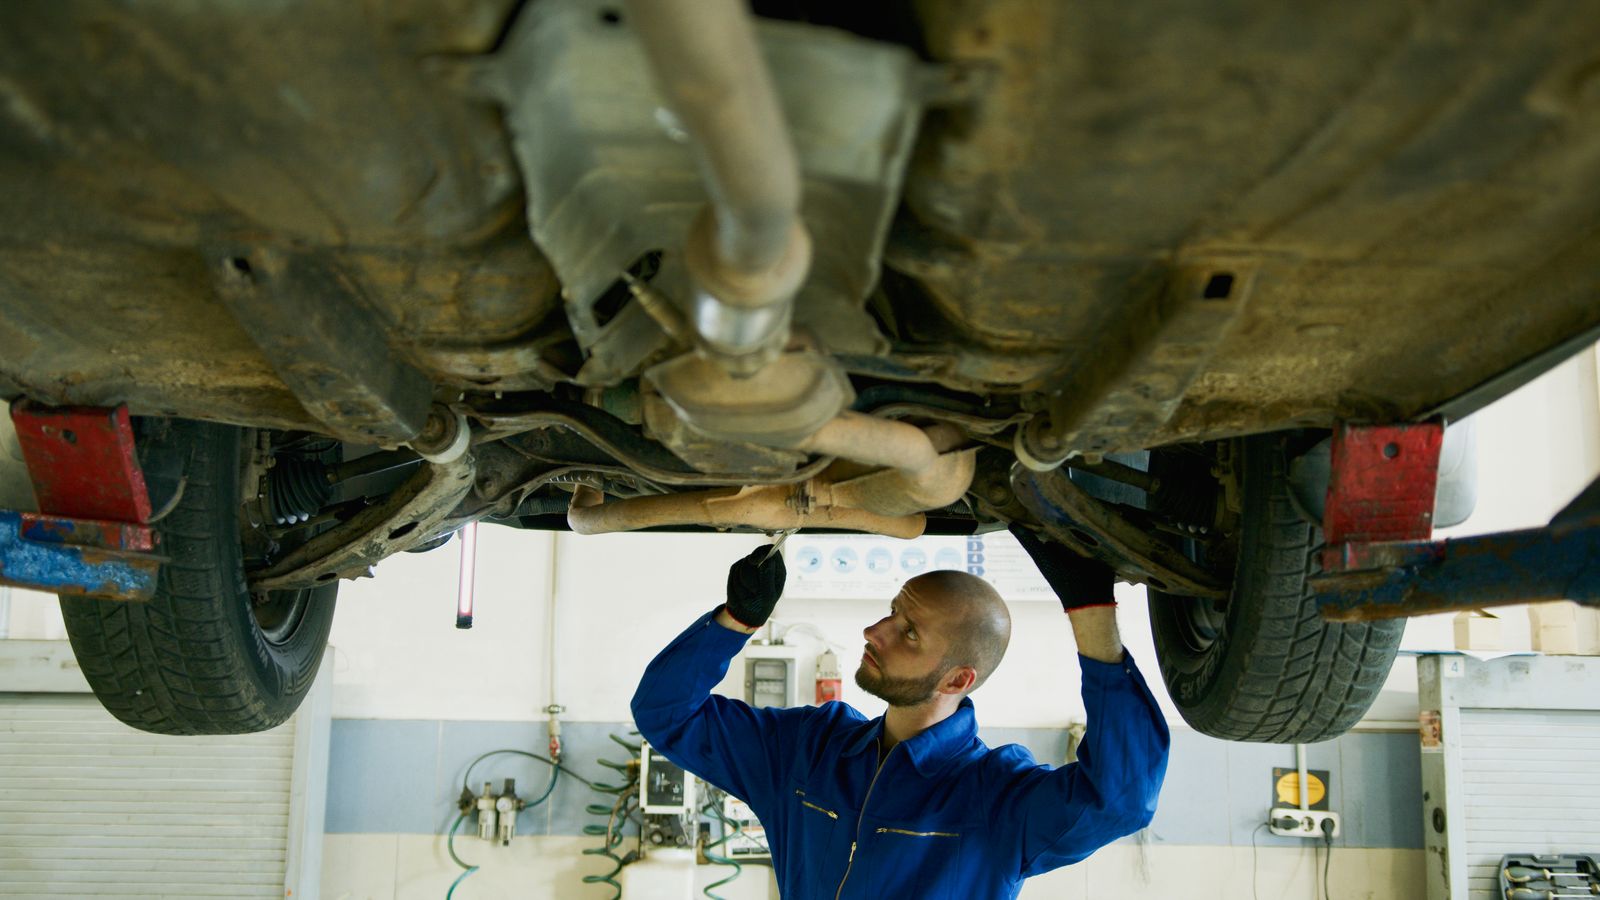
What is car underseal?
Underseal is a thick, flexible coating sprayed or brushed onto the underside of a car. Its job is straightforward: keep moisture, salt and grit away from bare steel. Left unprotected, steel rusts quickly in a damp climate, and the underside of a car is the perfect environment for corrosion because it never dries out properly and collects everything the road throws at it.
The coating works in three ways. It forms a physical barrier against water and salt, it absorbs the energy of stone chips that would otherwise crack paint and expose bare metal, and some formulations contain rust-inhibiting chemicals that slow corrosion at the edges of any damage.
It is worth separating underseal from waxoyl, because the two are often confused. Underseal is a heavier, often bitumen-based coating designed for the floor pan and other exposed areas. Waxoyl, and wax-based cavity products generally, are thinner and are designed to creep into box sections, sills and chassis legs where a thick coating cannot reach. Most thorough protection jobs use both: underseal underneath, wax inside the cavities.
Two things make the underside age faster than the rest of the car. Road salt, spread heavily through the winter months wherever temperatures drop near freezing, is the single biggest accelerant of underside corrosion. And structural rot is not cosmetic: a rusty sill, floor pan or subframe mounting point can fail an MOT outright, and once corrosion is structural the repair bill climbs fast. Welding a sill properly can run into several hundred pounds per side, according to typical UK garage estimates, once you account for labour, paint and the inevitable discovery of more rot nearby. A tin of underseal costs a fraction of that.
Resale value is the quieter benefit. A car with a clean, protected underside is far easier to sell privately, and buyers who know what to look for will walk away from one with crusty sills.
Types of car underseal
The market is crowded, and the packaging does not always make the differences clear. Here is what the main categories actually do.
Bitumen-based underseal. The traditional option, and still the most common. It is cheap, thick, easy to apply by brush or spray, and gives good protection against stone chips. Downsides: it can crack as it ages, it is difficult to remove, and if applied over existing rust it can trap moisture and make corrosion worse out of sight.
Wax-based products. Thinner and more fluid, these creep into seams and cavities and stay slightly flexible. They are excellent for box sections and sills but less effective as a standalone barrier against stone chips on the floor pan.
Rubberised coatings. These dry to a tough, flexible finish with good chip resistance and a neat appearance. They are popular for wheel arches. They tend to be more expensive and some formulations are fussy about surface preparation.
Epoxy coatings. Two-part products that cure to a hard, highly durable finish with strong adhesion. They offer the best long-term protection but demand proper surface prep and careful mixing. Overkill for most DIY use, excellent for a car being properly restored.
Clear wax. Leaves a translucent film so you can see the metal underneath. Useful for inspection and for cars where originality matters, but it offers less chip protection than a thick coating.
You will also see solvent-based and water-based versions. Solvent-based products generally penetrate better and dry faster but smell strongly and need good ventilation. Water-based products are friendlier to use but can be slower to cure and less tolerant of damp conditions.
How to apply car underseal
Preparation is where most DIY underseal jobs succeed or fail. The coating is only as good as the surface beneath it.
Step one: clean thoroughly. Pressure-wash the underside, then degrease. Any oil, mud or old wax will stop the new coating bonding, and a coating that lifts is worse than none at all because it traps water.
Step two: deal with rust properly. Wire-brush or grind surface rust back to sound metal, then treat the area with a rust converter before coating. Never coat over flaking rust; it will keep corroding underneath and you will not see it until it is structural.
Step three: mask and protect. Cover brake lines, fuel lines, exhaust components, suspension bushes, driveshafts and anything that moves or gets hot. Overspray on a brake disc, a rubber bush or a hot exhaust section is a real safety issue, so take the time to mask properly before you start spraying.
Step four: apply in thin coats. Two or three thin layers bond better and dry more evenly than one thick one. Follow the tin’s guidance on recoat times, and keep the car dry for the full curing period, which can run from a few hours to a couple of days depending on the product.
Safety: work outdoors or in a well-ventilated space, wear gloves and eye protection, and use a proper respirator with solvent-based products. Never apply underseal near a naked flame, and keep it away from hot exhaust parts.
When to apply car underseal
New cars benefit most, because you are protecting clean metal before corrosion starts. Some new cars leave the factory with only partial protection, so a top-up in the first year or two can be worthwhile. Used cars need an honest assessment first: if the underside is already rusty, the priority is repair, not concealment.
Late spring or early summer is the ideal time, giving the coating months to cure fully before the gritting season begins. As for frequency, a quality coating should last several years, but check it annually and touch in any chips or worn areas. Signs your car needs attention include flaking or cracked coating, visible surface rust on sills or subframes, damp carpets (a sign of water getting in through the floor), and a chalky or powdery finish where the old protection has broken down.
How much does car underseal cost?
DIY is the cheap route. A tin or aerosol of underseal typically costs £10 to £25, and a rust converter adds a few pounds more, based on typical UK retail prices. The trade-off is your time and the need for ramps or axle stands and a dry, ventilated space.
Professional application varies widely. A basic spray-over at a specialist can start around £150, while a thorough job including cleaning, rust treatment and cavity wax commonly runs from £300 to £600 or more, according to UK specialist estimates, depending on the car’s size and condition. Factors affecting cost include how much prep is needed, whether rust repair is involved, and whether cavity protection is included. Given that welding a sill can cost several hundred pounds per side, professional protection is often the better value on a car you plan to keep.
Common mistakes to avoid
The biggest error is applying underseal over rust. It looks neat and hides the problem, but it traps moisture and lets corrosion continue unseen. The second is missing areas: sills, inner wheel arches, the area around jacking points and the seams where panels meet are the spots that rot first. Third, mixing incompatible products without checking, since some coatings will not adhere over others. Finally, overspray on moving parts, brake components and hot exhaust sections, which can cause real problems. If you are tackling other maintenance jobs at the same time, our Car Battery Guide: How to Choose, Fit and Charge the Right Battery is a useful companion read.
Car underseal FAQs
Is underseal worth it? On a car you intend to keep, yes. It is one of the cheapest forms of long-term protection against structural rust, which is expensive to repair and can write a car off at MOT time.
Does underseal affect the MOT? Underseal itself is not inspected, but it will not hide structural corrosion from a tester, who can probe suspect areas. Coating over rust to pass an MOT does not work and is not advisable.
How long does it last? A well-applied quality coating should last several years, but inspect it annually and touch in damage. Wax-based cavity products may need topping up more often than a hard epoxy finish.